Android Development with Genymotion
I am a noob in android development and one thing I am not comfortable with is the stock android device emulator. The default emulator is really slow, the boot-up process could take minutes in my machine (I won’t say my machine is fast either, but it is sufficient), the app deployment takes too much time, moreover, the interaction is sluggish. Hence, it is a no go.
Up to now, I used my own android phone to test my app. It is fast, quite responsive, but the downside is I need to connect my phone to my laptop when I work on the app. Not to mention when I can’t find my USB cable, disaster.

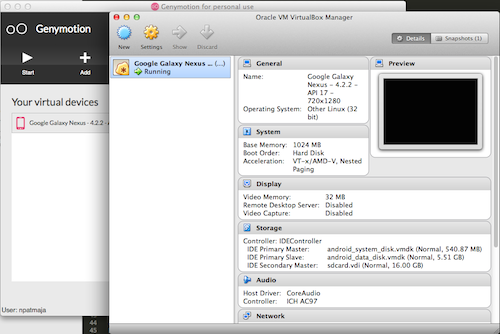
Fortunately, there is an alternative to android stock emulator called Genymotion. It runs on top of VirtualBox, in other words, each android virtual device is an virtual machine in VirtualBox. To use Genymotion I have to register in the first place (the free account is sufficient for me) and then downloaded and installed the application. Following that, I created a virtual device of my liking in the Genymotion application. As I use Eclipse Android Development Tools, I then installed eclipse plugin for Genymotion. A plugin for Android Studio is also available in the Genymotion’s website. Restarted Eclipse and all was ready. A note, you need to install VirtualBox to use Genymotion, otherwise it will complain about can not starting virtualization or something.
At first I was skeptical about this emulator but it turn out to be the opposite. It runs flawlessly, it boots up very fast and very responsive, and at some point it is even faster than my phone. More importantly, it consumes considerably less CPU resources compared to the default emulator, impressive. In the conclusion, I recommend this emulator for android development over the stock emulator. If you need to access more features other than camera and GPS, you can always change to the subscribe version.